
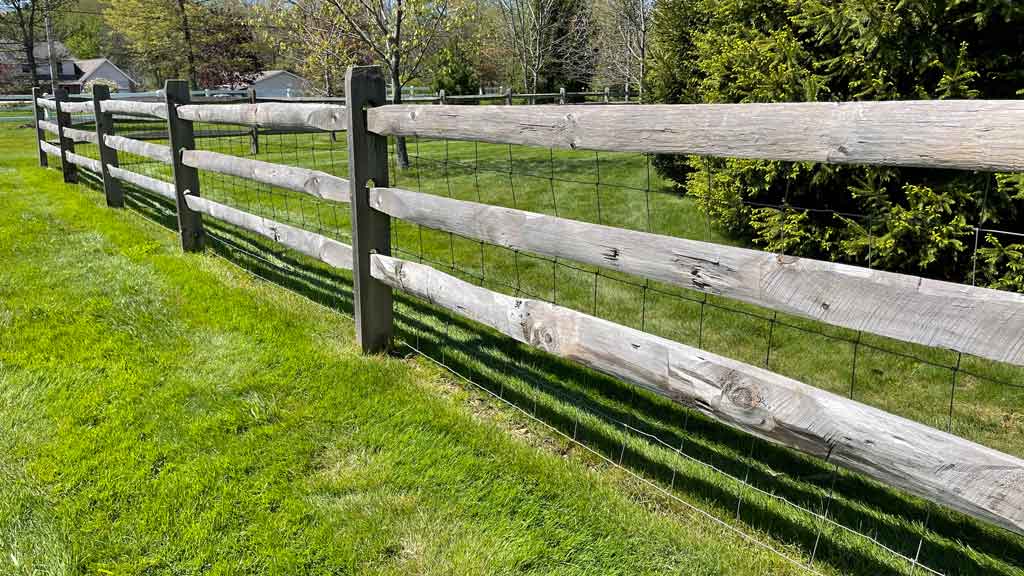
Split rail fence was originally designed to keep large farm animals contained. Because if its open design, having large spaces between the rails, smaller animals pass through it easily.
However, split rail fence with wire attached to it eliminates large gaps and spaces. As result, giving it the ability to contain pets and small farm animals.
For these reasons, split rail fence with wire has become a popular design choice in residential settings.
Types of Wire for Split Rail Fence
The wire mesh attached to split rail fence comes in three types. Welded wire mesh, woven wire mesh and chain link mesh.
All three are popular. However, each style does have advantages and disadvantages. What you are trying to contain may dictate the style of mesh that is best for you.
Sometimes, home owners associations and city codes determine the style of split rail fence with wire permitted. The number of rails the fence has determines the height of the wire.
Split rail fences with 2 rails will have 36″ tall wire. Fences with 3 rails will have 48″ tall wire mesh.
Split Rail Fence with Welded Wire

Welded wire mesh is the least expensive option when dealing with split rail fence with wire. Thin strands of wire intersect horizontally and vertically forming the mesh. Welded together where they cross.
Welded wire has 2″x3″ or 2″x4″ spaces between strands. As result, making it a good choice for containing dogs. However, it does have a couple disadvantages.
The first is it does not contour to changes in grade of the land well. Shorter runs and level ground works best.
Second, it isn’t very durable. Large dogs that bite at the fence will break the welded strands of wire. Furthermore, larger farm animals will damage welded wire too.
Most dogs however, will have no issues with welded wire.
Welded wire comes in colors to help it blend in better. Galvanized is standard. This will have a shiny silver color when new. However, after a few years, it will turn a dull gray color.
Vinyl coated welded wire comes in colors. Green and black are standard. The darker colors blend in much better than the silver color associated with galvanized.
Although still galvanized for protection, the coating hides the silver color on welded wire coated in vinyl.
Split Rail Fence with Woven Wire
Woven wire is a heavier version of welded wire, also having horizontal and vertical strands. However, the gauge of the wire strands is heavier. Also, a special knot ties the strands together where they intersect.
As a result, making woven wire much stronger than welded wire. The knot also allows woven wire to flow over uneven terrain better. Woven wire falls in the middle in regards to price.
The mesh of woven wire fence comes in a variety of sizes. No Climb Fence is the smallest. It is 2″ x 4″ which is good for containing small dogs. A 4″ x 4″ mesh pattern is popular for large dog owners.
Even larger sizes are available when your split rail fence with wire is containing farm animals.
Galvanized woven wire fence is silver in color. However, there are manufactures that offer a black color.
Split Rail Fence with Chain Link Wire

Chain link wire mesh is the third choice. While it is the most expensive option, it is also the most popular. Especially for residential split rail fence with wire.
Like woven wire, it follows the contour of the ground well. Important for containing little dogs. It’s also strong. However, the diamond pattern of chain link mesh takes away from the farm and field look that welded and woven wire offers.
Color is the drawing factor to chain link mesh. Green, black and brown are all standard colors. The vinyl coating of chain link fence is also much heavier than that of the other two types of wire.
Making it more durable and longer lasting. Repairs are much easier too when needed. Splicing in new wire mesh to replace old is seamless.
How to Attach a Wire Fence to Split Rail Fence
Assuming you already have the split rail fence installed, installing wire mesh onto it is easy to do. Fence professionals easily install 200 to 300 feet of split rail fence with wire per day.
Handy homeowners installing only the wire mesh could easily install a couple hundred feet a day or more.
The installation method is the same for all three types of split rail fence with wire. However, woven wire and chain link wire will require a couple specialized tools.
In order to stretch woven wire and chain link fence, use a come-a-long and stretch bar. Available for rent at home center stores.
Welded wire does not need stretched. Doing so will result in breaking the welded joints.
Other tools requires will be a hammer, and side cutters or fencing pliers. Finally, to attach the wire to the fence, use a fence staple or horseshoe nail.
Attaching the Wire to An End Post
The first task will be attaching one end of the wire to a starting point. Most likely an end post.
Welded wire and woven wire will use fence staples nailed into the post. The same can be done with chain link fence. However, a tension bar, drilled with holes, attached with wood screws is stronger.
Don’t skimp on fence staples or screws. The weight of the stretch is supported by this connection.
Stretching or Pulling the Wire Tight
Once attached to the starting post, unroll the wire leaning it against the fence, until reaching the next end or corner post.
For welded wire fence, remove the slack by manually pulling the wire. Two people make the task easier. While one person holds tension on the wire, the other nails fence staples to the first line post.
Repeat this process until reaching the end or corner post.
When stretching to another end post, one person pulls the wire tight past the end post. The other will nail fence staples into the end post securing the end of the wire mesh.
Once the wire mesh is fastened to the end post, cut to length.
When stretching to a corner post, do not cut the wire mesh. Round the corner using a continuous piece.
When stretching woven wire and chain link mesh, unroll the fence, leaning it against the posts. Manually pull as much slack out of the run as possible.
Next, hook the stretch bar into the fence, installing right before the last line post in the run. Hook the tail end of the come-a-long around the end or corner post the fence is stretching towards.
Slowly crank the come-a-long applying tension to the wire mesh. Be careful no to let it fall over while adding tension.
Bouncing the wire in the center of the run helps disperse tension evenly. Once tight, nail all of the line posts first.
Then attach the wire to the end or corner post with fence staples or a tension bar and wood screws. Lastly, release the tension of the come-a-long and remove.
Pro Fence Tips For Split Rail Fence with Wire
- Install the wire on the inside of the fence. When mesh is installed on the outside of the fence, dogs learn to climb the rungs of the fence like a ladder. As result, scaling the fence easily.
- After nailing the fence to the line post, go back and add one or two fence staples to each rail in-between posts. Doing so tightens the wire mesh and prevents loose rails from moving back and forth.
Final Thoughts About Split Rail Fence with Wire
Whether adding wire mesh to an existing fence, or installing a new one, a split rail fence with wire is a great way to contain animals. Both farms and residential properties take advantage of the simple design with rustic look.
Need a gate for your split rail fence? Checkout our blog post here.
