
The most popular vinyl fence style installed is vinyl rail fencing. One reason for this is because it is affordable. Another reason is because it is easy to install.
Its simple design looks good while at the same time is functional. Wether you are keeping in farm animals or simply defining a property line, vinyl rail fencing works extremely well.
Take a drive anywhere and you’re sure to see it installed. It is common along the front entrances of developments, around retention ponds, in parks, and of course for farms and ranches.
Manufactures offer it in four design options. A 2rail design, a 3 rail design, a 4 rail design and a cross buck design. Each design is just as popular as the next.
White is the most commonly found color. However, vinyl fence comes in many other colors too.
2 Rail Vinyl Fence

The 2 rail system is approximately 36″ tall when install correctly. Popular places to see 2 rail vinyl fence is around parking lots, along walkways and corner accents next to driveways.
It does a good job of defining property lines without being overbearing. It also works well for influencing the flow of pedestrian foot traffic in public places.
At the same time, keeping people from cutting across courtyards and landscaped areas they shouldn’t.
3 Rail Vinyl Fence
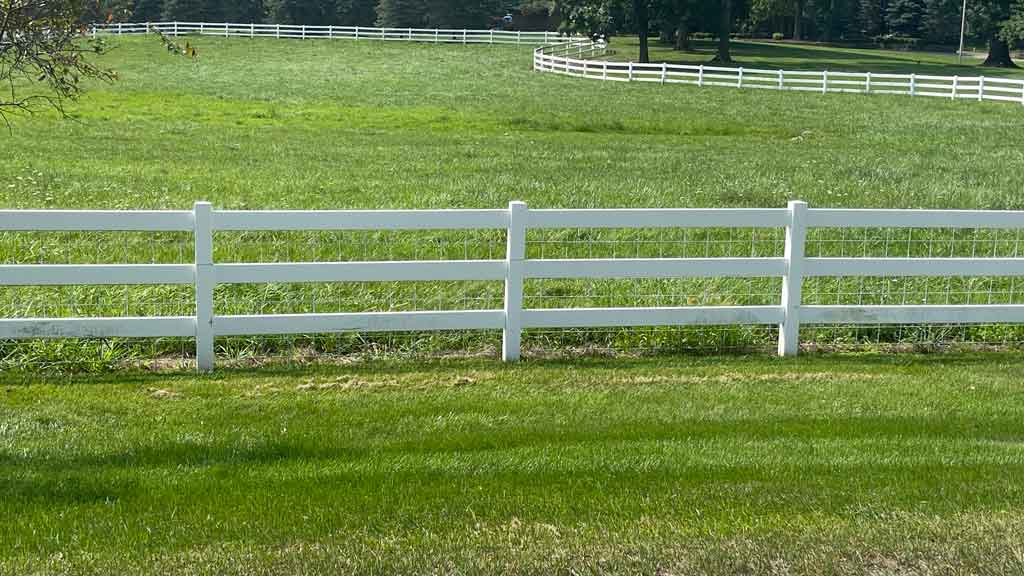
The 3 rail system is approximately 48″ tall when installed correctly. This type of vinyl rail fencing is the most popular. Often used for horse fencing.
You will find 3 rail systems on farms and ranches across the country. But that isn’t the only place. Developers use it to line the entrance ways of housing developments.
Also found in parks and other public places to define edges and deter foot traffic. Just like the 2 rail system, however not as easy to step over.
4 Rail Vinyl Fence
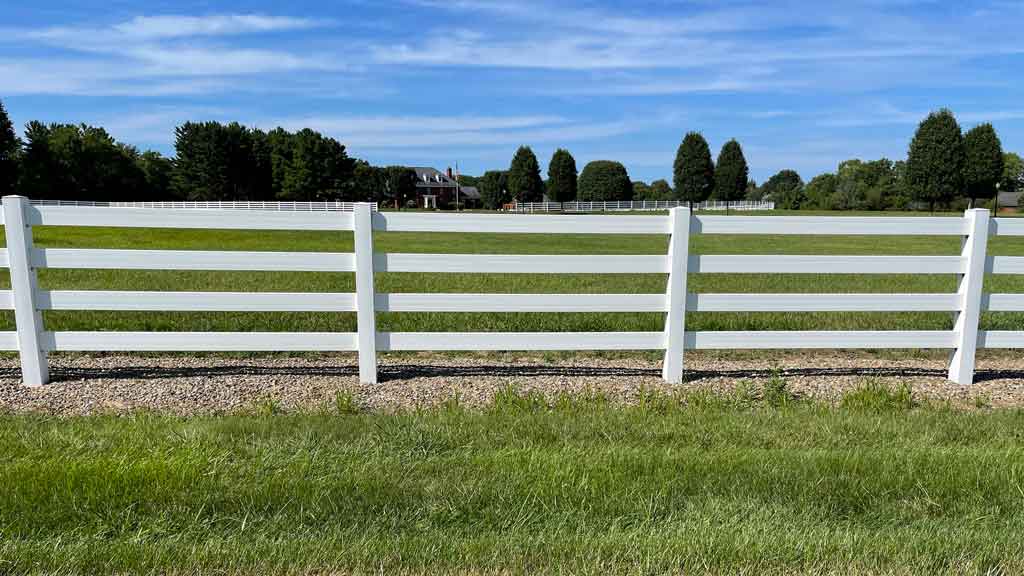
The 4 rail system is approximately 54″ – 60″ tall when correctly installed, depending on the manufacturer. Out of the four designs, 4 rail the least used. However, when consumers need extra height from their fence, this is the one they choose.
Farms and ranches wanting extra protection for horses and livestock also choose the extra height of 4 rail vinyl fence.
Crossbuck Vinyl Fence
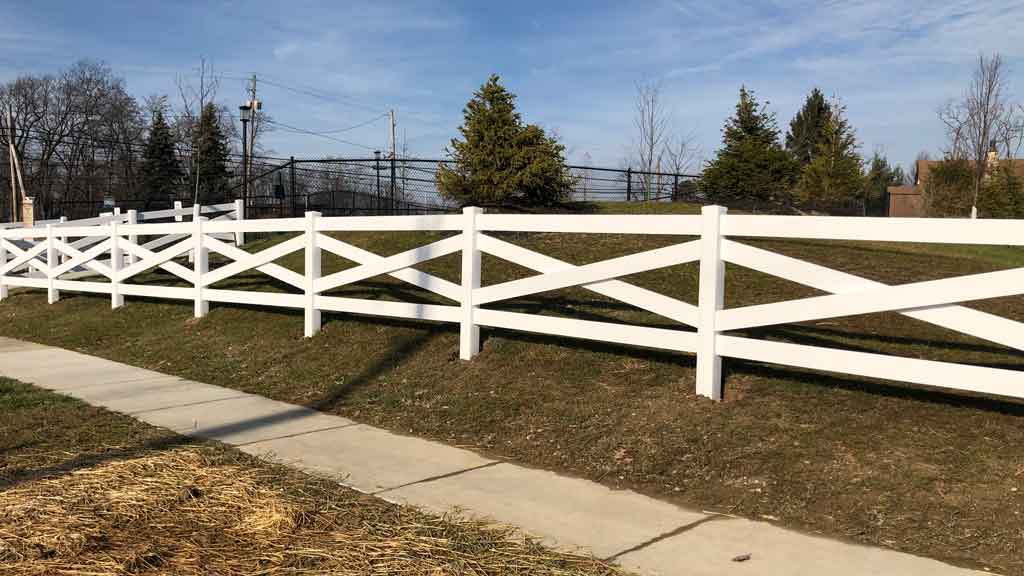
Crossbuck is vinyl rail fencing with 4 rails that has an X through the center. When installed it measures approximately 48″ – 54″ tall, depending on the manufacturer.
Crossbuck is popular for farms and pastures. However, developers really love its design. It is common to find Crossbuck fence at the entrances of housing developments. Even more so than other styles of vinyl rail fencing.
It also commonly found around apartment complexes and along parking lots of community parks and sporting fields.
Post Caps
Post caps for rail fencing come in many styles. However, when dealing with horses, only one is the best.
Horses are hard on fences. They like to scratch themselves on the posts and chew on anything they can get ahold of. As a result, horses will chew any cap with a lip or overhang.
There are two types of pyramid style post caps. An internal fitting one and an external fitting one. The external fits over the post and will have a small edge or lip for horses to get to.
The internal cap fits inside the post and has a seamless fit. Therefore, the internal pyramid post cap will work the best for horses.
Other styles of post caps are New England style which has a molding around the outside edge of it. A gothic cap which looks like a three dimensional ace of spades, and a ball cap.
Glueing the posts to the caps prevents them from blowing off in a storm or from theft.
Installation of Vinyl Rail Fencing
Even though there are four styles of fence, the installation process is the same for three of them. Crossbuck is just slightly different because of the diagonal rails. However, it is so minute that we’ll just include it with the rest of the styles.
There are only three components to vinyl rail fencing. First, is the posts. All of the posts will be 5×5 square and cut to the appropriate length depending on what system was purchased.
Second, are the rails. The rails are all the same size. However some manufacturers sell them in 16′ length and some in 8′ lengths. Common rail size is 1.5″ x 5.5″ Some manufacturers offer a heavier rail that will measure 2″ x 6″.
The third component is the post cap.
Installing the Posts
Installing the posts for vinyl rail fencing is easy. Most manufactures set them at 8 feet on center in concrete footers.
Many believe the posts sleeve over wood posts. They don’t. Posts are hollow allowing the rails to insert through them. Adding wood post would prevent this.
A hole should be drilled into the side of the post near the bottom. Normally done by the manufacturer. This allows concrete to flow into the post. The concrete creates a lip that will not allow the post to move.
Sometimes, through natural expansion and contraction due to temperature, vinyl posts can work their way out of the footer while the footer remains intact in the ground. The hole on the side of the post will prevent this.
Use a string line when setting posts. Assuring nice straight lines while remaining straight and plumb.
The manufacture will specify the height the post should be set at. Set an entire line to the correct height. Then go back and adjust post heights if needed before the concrete dries.
Avoid sharp angles caused by grade changes. When using 16′ long rails, run the heights of the posts as straight as possible.
Make up variances in grade by adjusting the space between the ground and bottom rail. Give the posts ample amounts of time before inserting the rails.
Installing the Rails
Setting the posts is the hard part. Assembling the rails is easy. If the fence installed isn’t going to be holding in horses or livestock, then use 8′ long rails if possible. They make for an easier installations.
Assuming your fence is for horse fencing, the 16′ long rails provide a stronger installation. As I mentioned before, horses are hard on fence. Vinyl rail fencing is no different.
Because they like to rub against the posts, and vinyl posts flex, the rails must be installed so that all of the joints between the rails aren’t in the same posts. Offsetting them will make for a stronger fence. It is easy to do.
Let’s assume we have a 3 rail vinyl fence. If we start at the first post and ran 16′ long rails through the second post and into third post, all of the joints would be in the third post.
You don’t want that.
Therefore, you would start with a 16′ rail in the bottom position, then cut a rail to 8′ long in the middle position and then finish with another 16′ rail in the top position.
From this point on 16′ rails are used to finish out the line of fence. What this does is staggers the joints between rails so no one post ever shares all the joints.
This makes the fence much stronger. However, if the fence is just for show or not intended for containment, there is no need to stagger the rails.
Installing the Post Caps
This is the final step. You should glue the caps onto the posts so they don’t blow off in a storm or get stolen.
However, don’t put glue around the entire cap. It is overkill and not needed. Only a small amount of glue is needed in two opposing corners. This is enough to hold them securely.
If they ever need removed, they can be pried off with a flat head screwdriver without damaging the post.
