
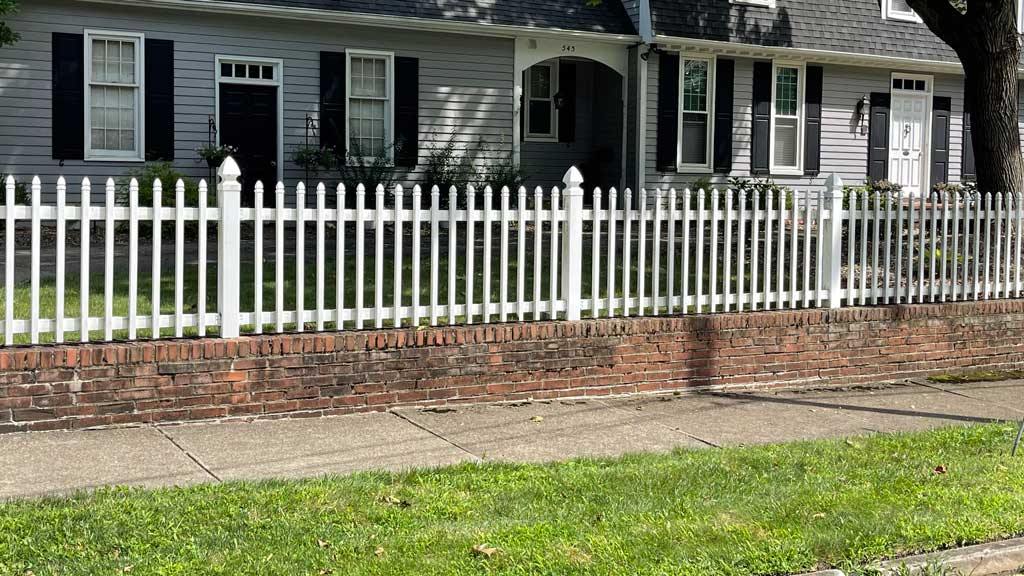
Vinyl picket fence is a great alternative to wood. An appealing advantage homeowners love is never needing to paint or stain it.
An excellent addition to any yard. It not only looks great, it is also a safe way to keep your children or pets contained and secure.
Neighbors and homeowner associations both love the unobtrusive design. Furthermore, knowing it will last a lifetime gives homeowners peace of mind. Once installed, simply enjoy your new vinyl fence.
Vinyl Picket Fence Styles
Vinyl picket fence comes in two distinct styles. Traditional picket and Good Neighbor picket. The same vinyl extrusions makeup both styles.
There is no difference in quality or life expectancy. How the pickets attach to the rails is the only difference between the two styles.
Traditional Style Vinyl Picket Fence
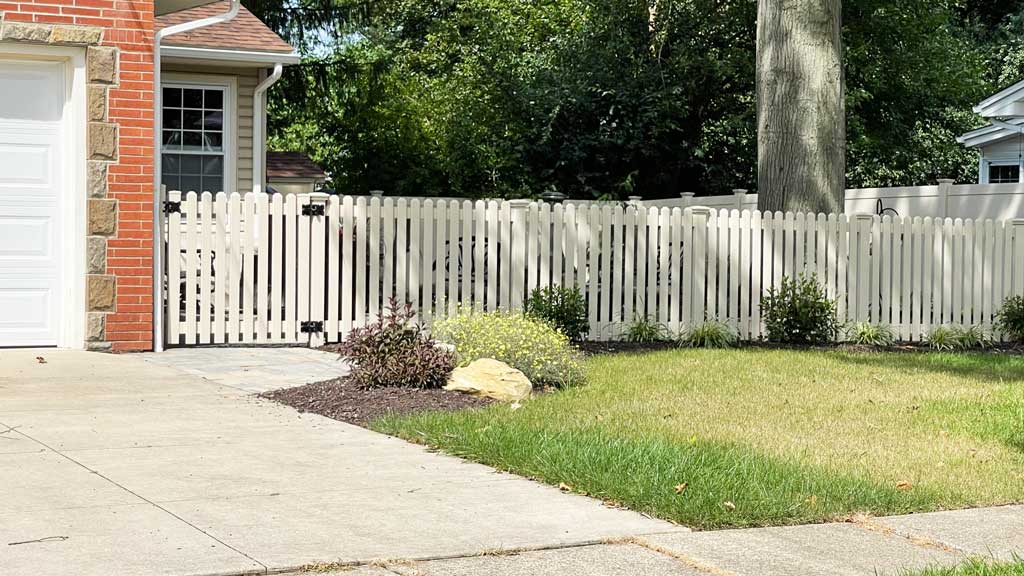
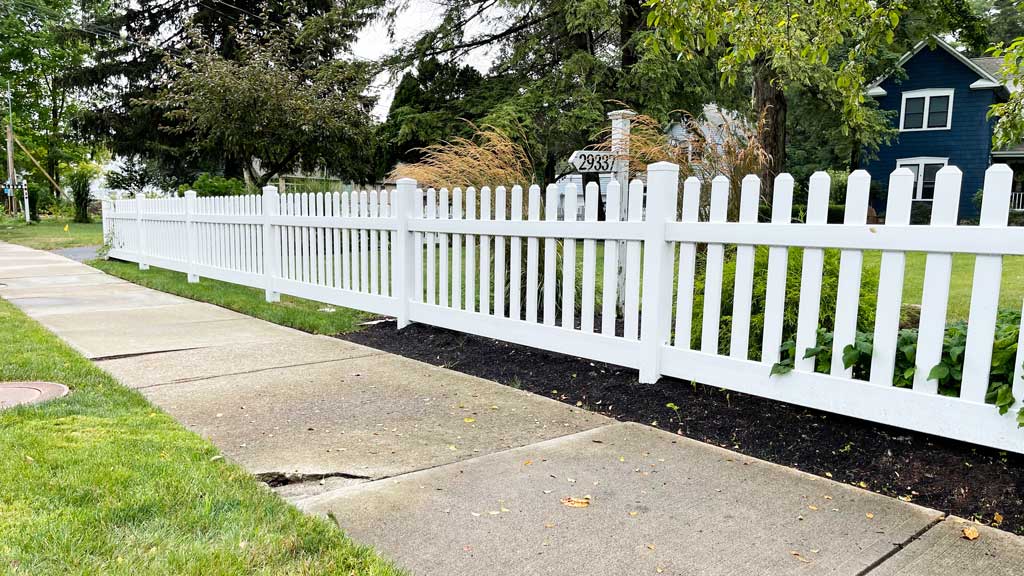
A traditional vinyl picket fence resembles wood picket fence construction. Pickets are fastened to one side of the rail. As a result, leaving a good side and bad side of the fence.
Each picket extends above the top rail and below the bottom rail. However, the design of traditional picket fence is not as strong as good neighbor picket fence.
Better suited for use around gardens, along sidewalks and focal pieces of landscape features.
Good Neighbor Vinyl Picket Fence
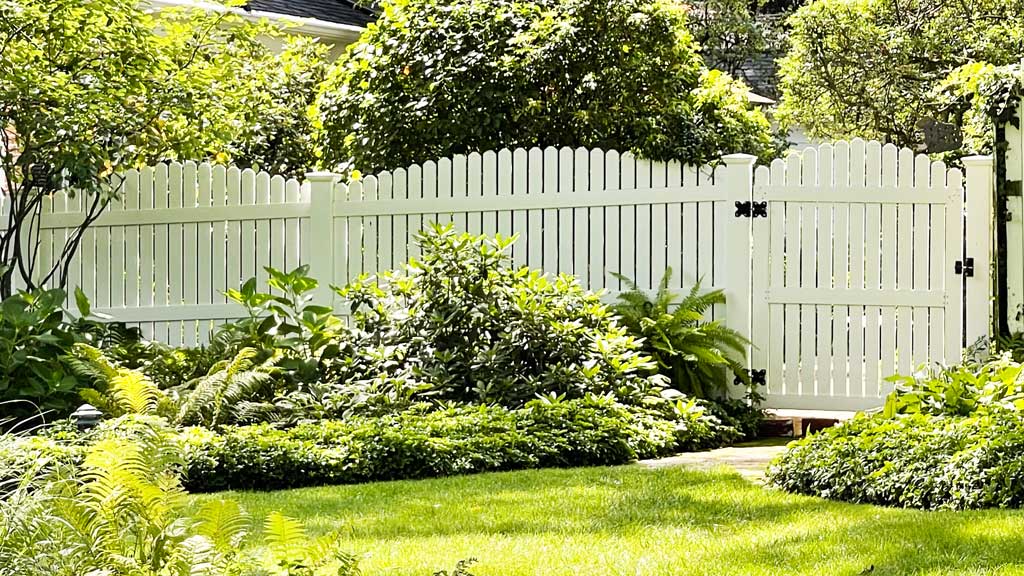
Good neighbor vinyl picket fence has the pickets installed in the center of the rails. The top rail is routed on the top and bottom to allow the pickets to slide through.
However, the bottom rail is only routed on the top side. This allows the pickets to install internally without extending through the bottom of the rail.
As a result, the fence looks the same on both sides. Good neighbor vinyl picket fence is stronger than traditional picket fence. Making it better suited for containment purposes.
Vinyl Picket Options
There are many options in regards to a vinyl picket fence. Picket size and spacing is one. Having the fence scallop or arch is another.
Whether the picket has a dog ear or pointed top is yet another. Each manufacturer is different. All or none of these option may be available to you depending on the one you choose.
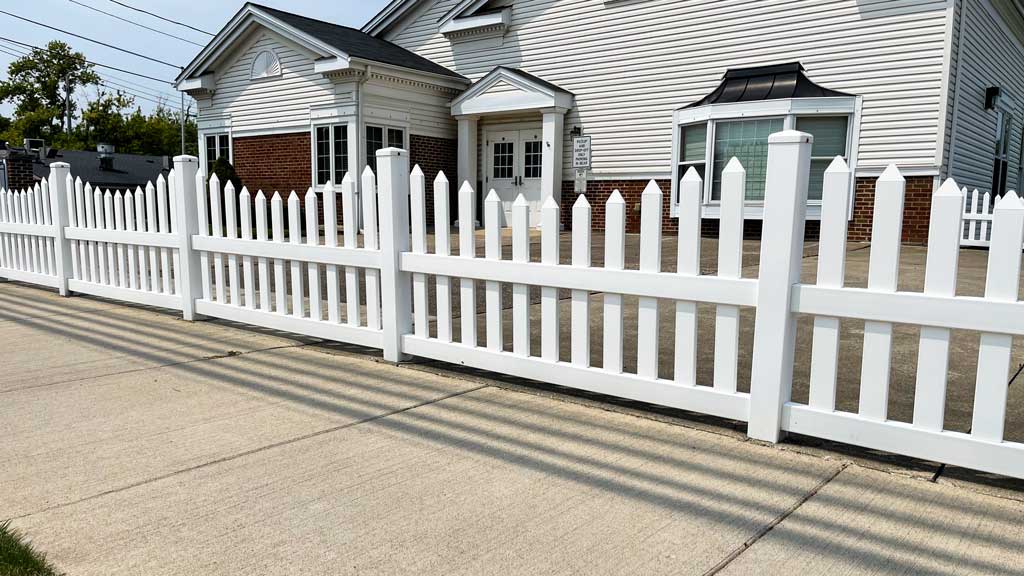
Scalloped or Arched Vinyl Picket Fence Sections
The sections of a vinyl picket fence are not always straight across. There are options available. Scalloping or arching the section gives it a fancier look.
A scalloped fence will start out with the desired height of the fence next to the posts. It then scallops downward towards the center of the section and backup to full height at the opposing post.
Arched vinyl picket fence sections start lower next to the posts and arch upward in the center of the section. There is a 6″ difference between the high and low measurement from most manufacturers.
One thing to keep in mind when choosing to purchase a scalloped or arched fence. When sections need cut shorter the radius of the scallop or arch changes.
Pickets will then require reconfiguring to complete the radius. As result, do not figure in using the drop in another line.
Always account for a full section of fence when using a scalloped or arched style of vinyl picket fence.
Picket Size and Spacing
Many manufactures offer wide pickets and narrow pickets for their vinyl fence sections. The standard size of a wide vinyl picket is 3″ wide x 7/8″ thick.
The standard size of a narrow vinyl picket is 1.25″ x 1.25″ square or 1.5″ x 1.5″ square. Narrow vinyl picket fence sections cost more than the wide picket.
Picket spacing is another option. There are too many to list. Each manufacturer has their own. Just know that even though the section might be a wide picket style, the spacing between the pickets could be offered in two different measurements.
Most customers choose the wider of the two because it is less expensive. However, if you have small pets or animals, the narrow spacing is a better option.
Vinyl Fence Post Caps
As with all vinyl fence, the posts are standard 4×4 square or 5×5 square. However, there are options for the post caps.
Pyramid post caps are standard. Gothic, New England and Ball caps are available options adding extra cost to the fence. Post caps glue onto fence posts after installing the sections.
What style of post cap you choose is a personal choice. Pick the one you like the most!
Vinyl Picket Fence Gates
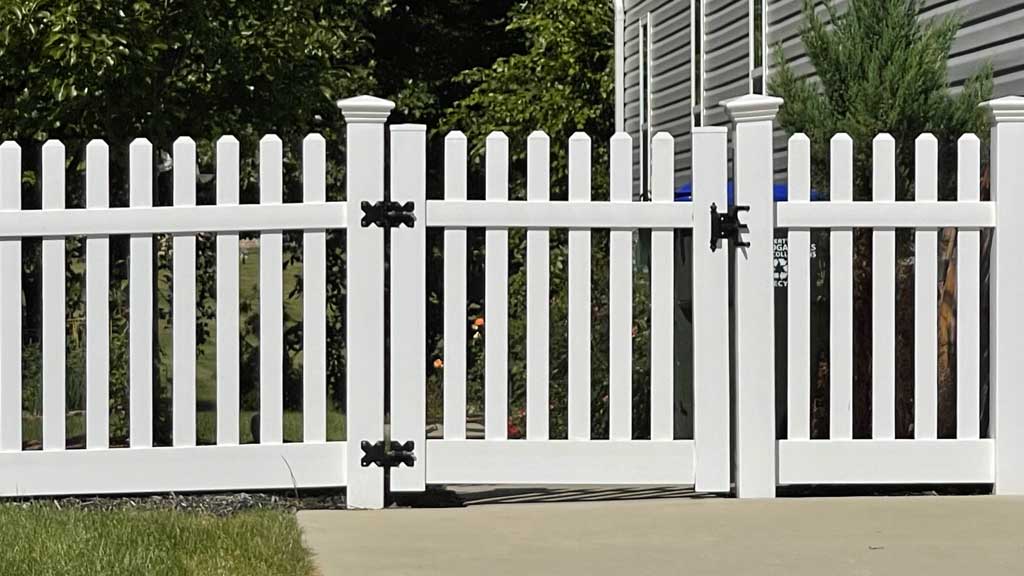
The gates for a vinyl picket fence will match the style of the fence. Vinyl gates are not strong. Even the best built ones cannot cover large openings well.
Single gates come in 3′, 4′ and 5′ as standard sizes. Combining two single gates makes a double gate. Often referred to as a double drive gate. Double gates accommodate larger opens such as driveways.
Vinyl fence posts are hollow and do not have enough strength to support gates. As result, aluminum post reinforcements are installed. They have two jobs.
The first is to stiffen the post up so it has the strength to support the gate. The second is providing extra wall thickness for the screws used to attach gate hardware to bite into.
Install post reinforcements in both the hinge and latch post before hanging gates.
Vinyl Picket Fence Installation
Installing a vinyl picket fence is not hard to do. Requiring only 3 steps. The first is to set the posts. The second is to install the sections or panels. The last step is to glue the post caps on and hang the gates if there are any.
Setting the post will be the hardest step. However, once completed, vinyl assembles very easily.
Setting the Posts
Setting the posts for a vinyl picket fence is the hardest step in the fence installation process. However, with a little hard work and patience, you can do it!
There are 4 types of posts. End posts, corner posts, line posts and blank posts. Fence layout determines the style of posts needed. They will be routed accordingly from the manufacturer.
A measurement provided by the manufacture determines the distance between posts when installing. It is crucial that this measurement is met.
Always go shorter than specified when the installation does not allow meeting it. Never longer. When shorter, cut the section down to fit. However, hit the exact measurement when possible.
The manufactures allow for space between the posts and the first and last pickets of a vinyl picket fence section. Inconstant measurements between posts will result in these spaces to also be inconsistent.
It is OK to have a cut section in each line of fence. No layout ever works out into even multiplies of full length sections. Try to hide shorter sections in the rear corners when setting pots.
Make sure the heights of the posts are correct for each line of fence before moving onto the next line. The higher the posts are set out of the ground, the straighter the fence can run. However, this will leave a larger space under the fence.
Allow the fence posts to flow with grade when containment of smaller animals is the goal. This will keep the bottom of the fence closer to the ground.
Installing the Panels or Sections
Installing the vinyl picket fence panels is easy. The panels or sections should already be assembled from the manufacturer. If they aren’t assemble, they should be before proceeding.
Each section will have two rails. The end of each rail will fit into the routed holes of the posts. Rails will have notched ends or locking rings to prevent the section from being removed once installed.
Insert the rails of one side of the section into the post until the picket bottom outs against it. This will allow enough room for the rails on the other side of the section to clear the opposing post.
Insert the rails on the opposite side and center the section between the posts. Making sure the spaces between the posts and the next closet picket are uniform on both sides.
Repeat this process until all full length sections are installed. Go back and install cut sections last. When taking measurement for cut sections, make sure to leave enough rail length to fit into the posts.
When locking notches are removed in the cutting process, run a screw through the top rail from inside the post to keep the section centered in place.
The last step is to install the post caps. When gluing on post caps, a small dab in two opposing corners will keep them from blowing off.
However, if you should ever need to get one off, you can by prying it off with a flat head screwdriver.
Conclusion
Vinyl picket fence is a great addition to any landscape. Adding both functionality and curb appeal. With countless options in height, style and design, there is most certain a style to suit your taste and needs.
If a privacy fence is more your style, view our article on vinyl privacy fence!!!
